Introduction
Safety Signs
Controls
Operating Machine
Operating Mower
Lawn Care
Replacement Parts
Service Machine Safely
Service Interval Chart
Service Engine
Service Transmission
Service Steering & Brakes
Service Mower
Service Electrical
Service Miscellaneous
Removing Mower
Installing Mower
Troubleshooting
Storing Machine
Assembly
Install The Mower Wheel Right Side Up
Fasten The Driveline To The Mower Gearbox Shaft
Specifications
Warranty
John Deere Service Literature
QUALITY DOESN'T END WHEN YOU INVEST IN A DEERE

Assembly
Remove Mower From Box
1. Cut and remove the tie strap from the driveline.
2. Remove and discard the screw holding the driveline. Remove the driveline from the box.
3. Remove and discard the screw from the right, rear of the mower.
4. Remove and discard the screw from the left front of the mower.
6. Remove the mower from the pallet.
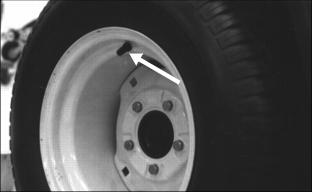
Install The Mower Wheel Right Side Up
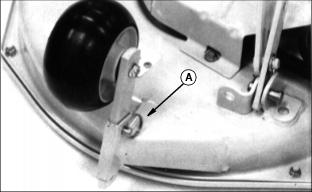
The mower is shipped with the rear mower wheel upside down.
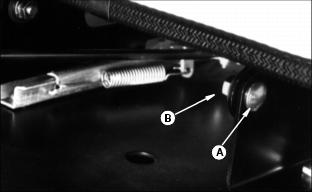
1. Remove the ring (A) and the drilled pin.
2. Remove the wheel and bracket.
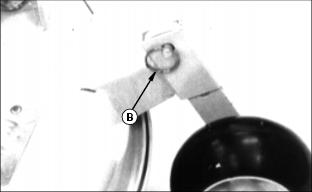
3. Install the wheel right side up in the last position as shown.
4. Install the drilled pin and the ring (B).
Install Mower Discharge Chute
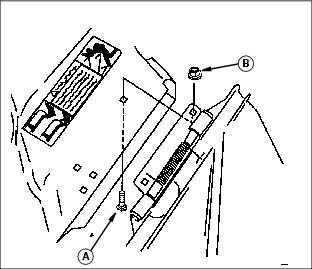
1. Install mower discharge chute to mower deck with two M8 x 16 bolts (A) and lock nuts (B).
2. Tighten nuts to 20 N·m (15 ft-lb).
Fasten The Driveline To The Mower Gearbox Shaft
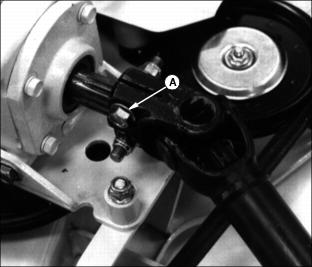
1. Line up the holes in the driveline coupler with the groove in the mower gearbox shaft.
2. Install the two M10 x 50 bolts (A) and lock nuts as shown-one from each side. Tighten the nuts to 75 N·m (55 lb-ft).
Remove Front Mower From Crate
1. Remove the two tie straps holding the ends of the push arms to the crate.
2. Remove and discard the lock nuts and flat washers from the two bolts holding the 2 x 4 to the rear bumper.
3. Remove and discard the two bolts from the rear bumper:
· Pry off and discard the tooth washer from each bolt.
· Remove and discard the rubber washer from each bolt.
· Remove and discard each bolt and flat washer.
4. Remove the bag containing the steering wheel, the operator's manual, and the bag of parts.
6. Remove and discard the two screws from the front 2 x 4.
7. Remove and discard the two brackets used to hold the front 2 x 4.
8. Remove and discard the two round-head bolts and lock nuts from each bracket.
Install The Seat
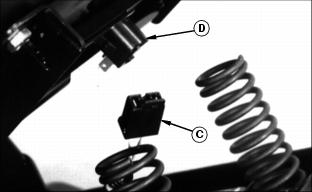
1. Fasten the seat to the base with two M8 x 20 round-head bolts (A), spacers, and flanged nuts (B).
2. Connect the lead (C) to the seat safety switch (D).
Install The Steering Wheel
1. Put the rear wheels in the straight-ahead position.
2. Install the 65 mm (2.5 in.) black plastic spacer on the steering wheel shaft.
3. Put the steering wheel on the shaft with one spoke pointing to the rear.
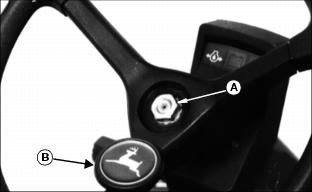
4. Install and tighten the nut (A).
5. Push the cover with insert (B) onto the steering wheel with the leaping deer in the upright position.

